
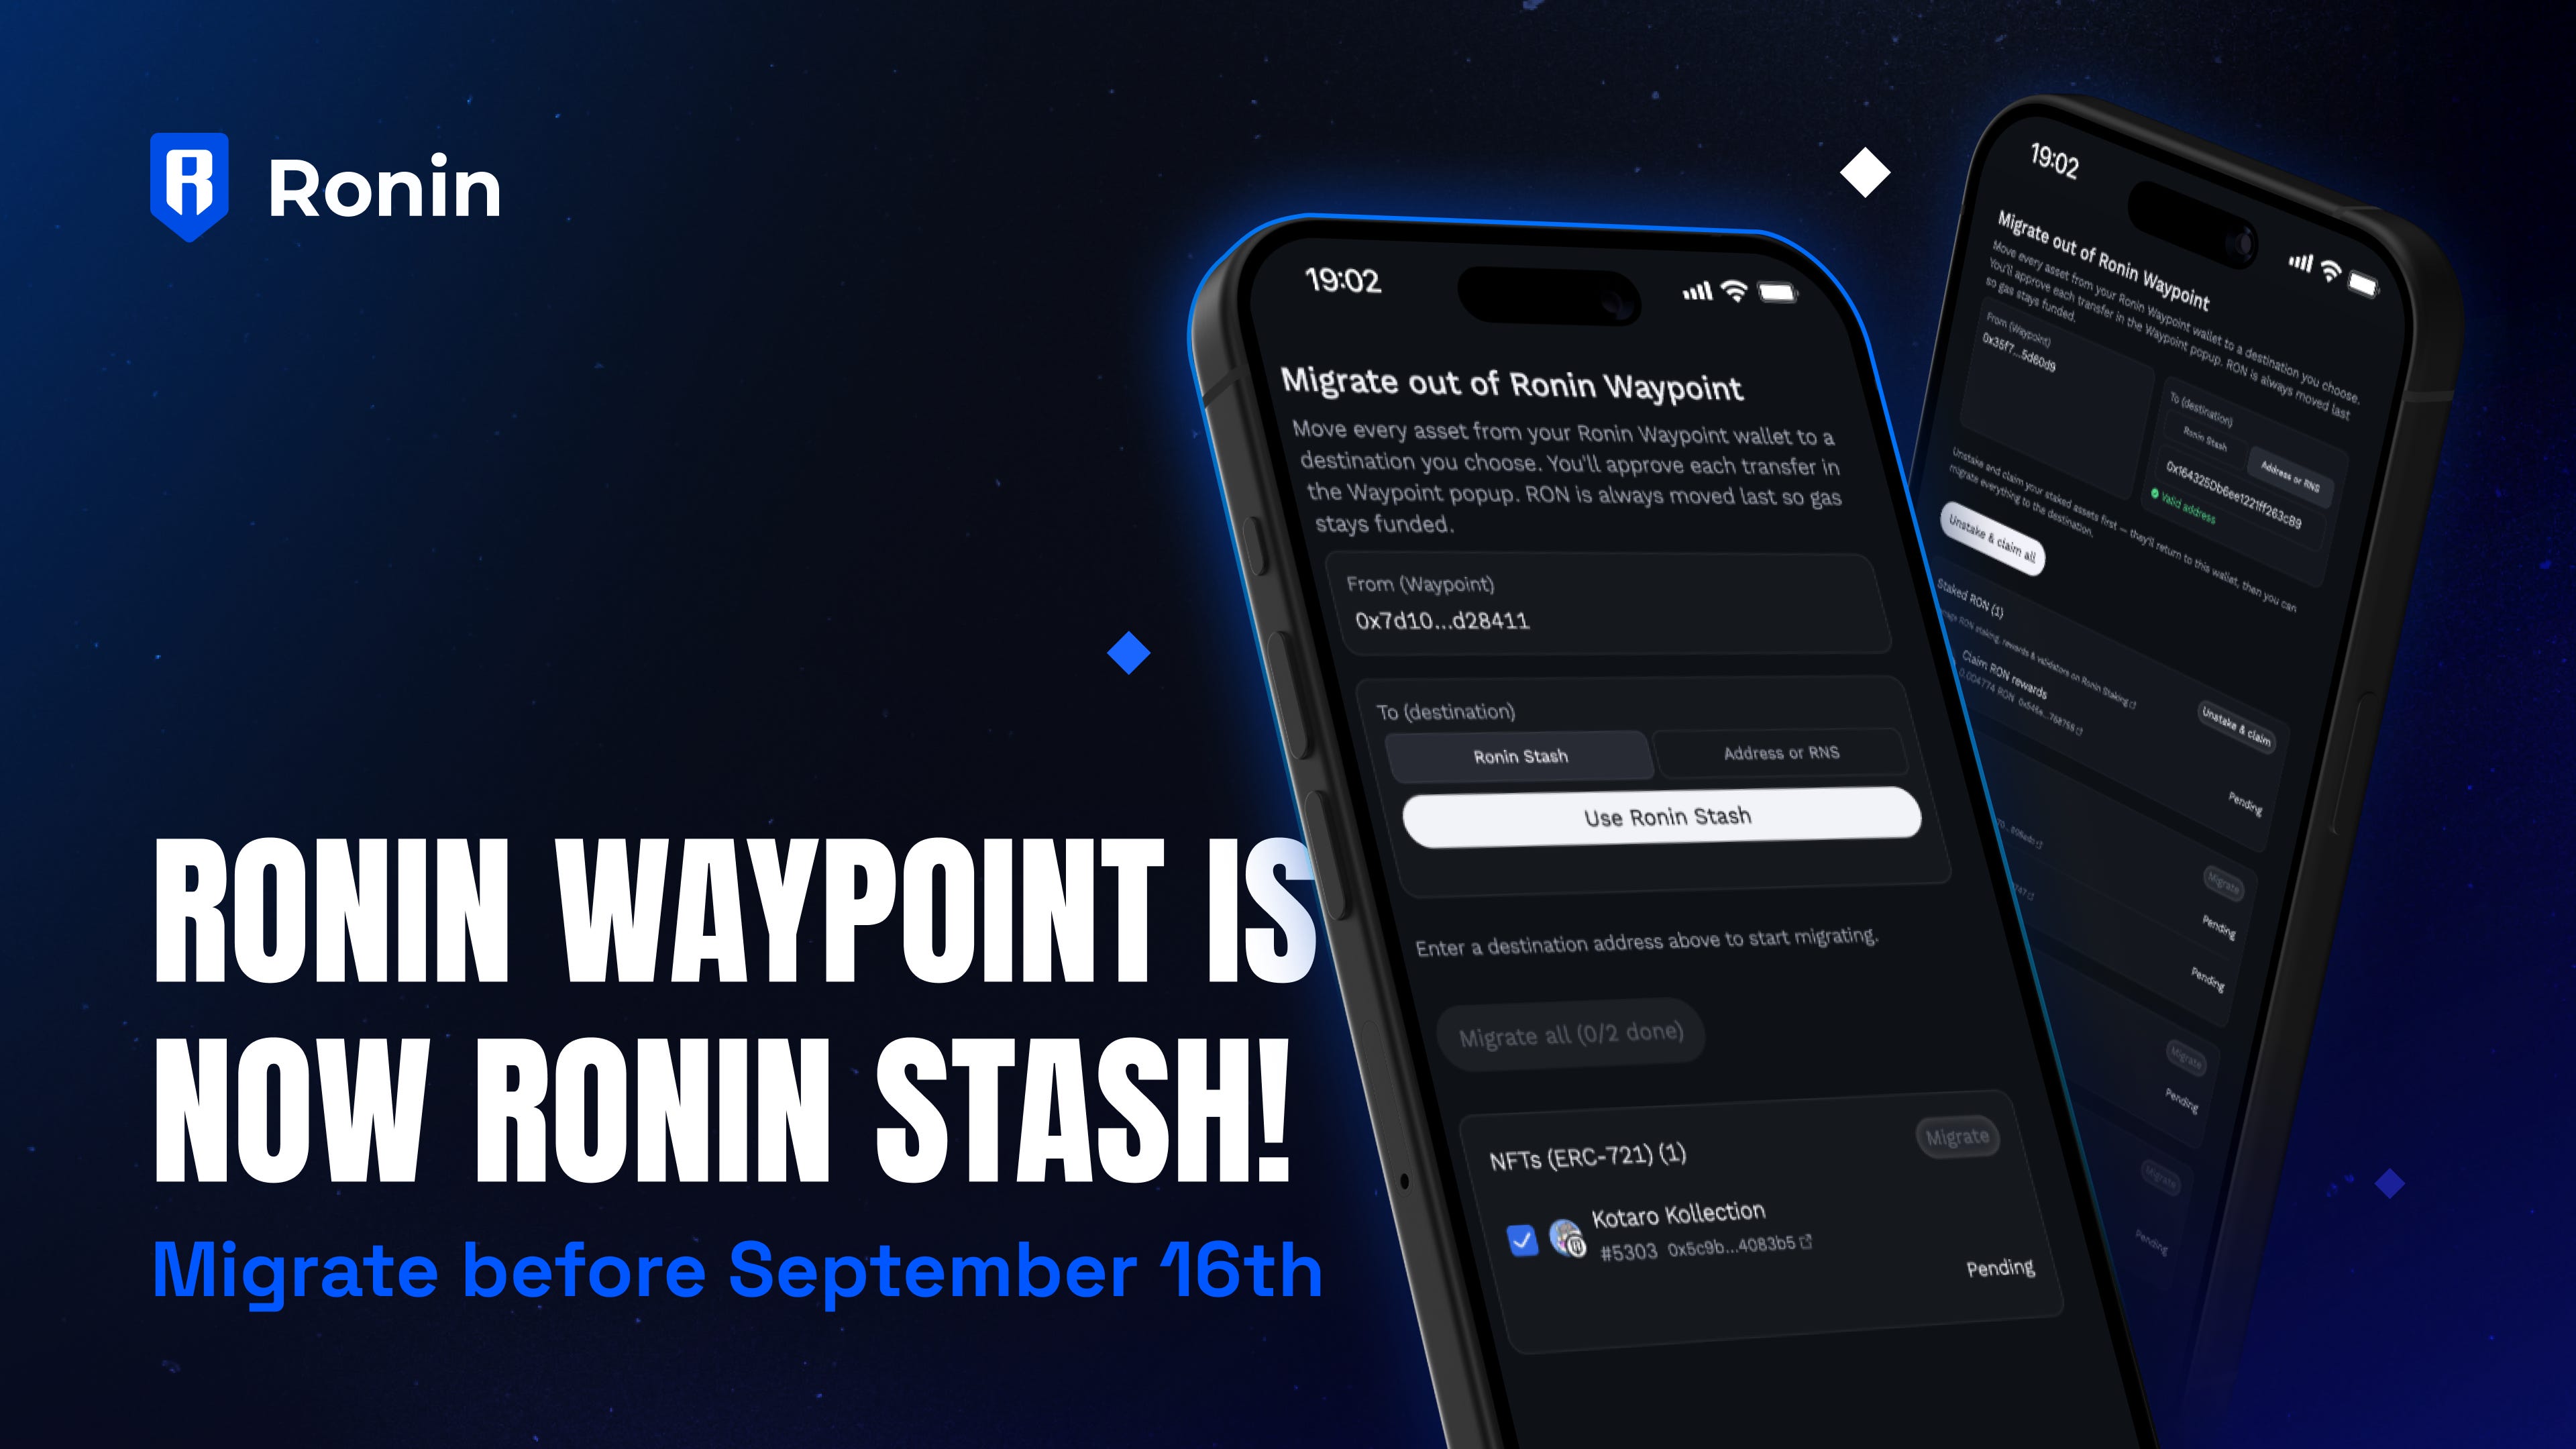
Ronin Waypoint is now Ronin Stash!
Migrate your tokens and NFTs before September 16th ⚔
Key Points
Ronin Stash is a new keyless wallet solution on Ronin, powered by Privy. Anyone can create a Ronin Stash account for free here.
Action required: If you have a Ronin Waypoint account, you need to manually transfer your NFTs, tokens, and onchain assets to a new Ronin Stash account OR a seedphrase wallet using our official migration portal. If you do not transfer your assets before the deadline, they will be lost forever.
How to transfer to the new Ronin Stash account: Go to the migration page and select Ronin Stash as a destination. We’ll automatically create a new address for you, and you’ll be able to transfer your onchain assets there.
Ronin Waypoint is now Ronin Stash! Keyless wallets make it possible for more people to get started on Ronin. In 2024, we launched Ronin Waypoint to accomplish this mission. Today, we’re plugging into Privy and updating the keyless wallet experience on Ronin. Here’s what’s happening:
Introducing Ronin Stash
Ronin Stash is a simple, easy-to-use keyless wallet solution powered by Privy. Create a Stash account with your email or social login and start making transactions in seconds. No seedphrase or technical knowledge required. That means users continue to have two options on Ronin:
• Use Ronin Wallet with seedphrase to retain 100% ownership of your onchain assets
• Use Ronin Stash without seedphrase for easy onboarding onto Ronin
If you have a Ronin Waypoint account, you’ll need to manually transfer your onchain assets to a new Ronin Stash account OR a seedphrase wallet. If you do not transfer your assets before the deadline, they will be lost forever. Follow the instructions below before September 16th to migrate.
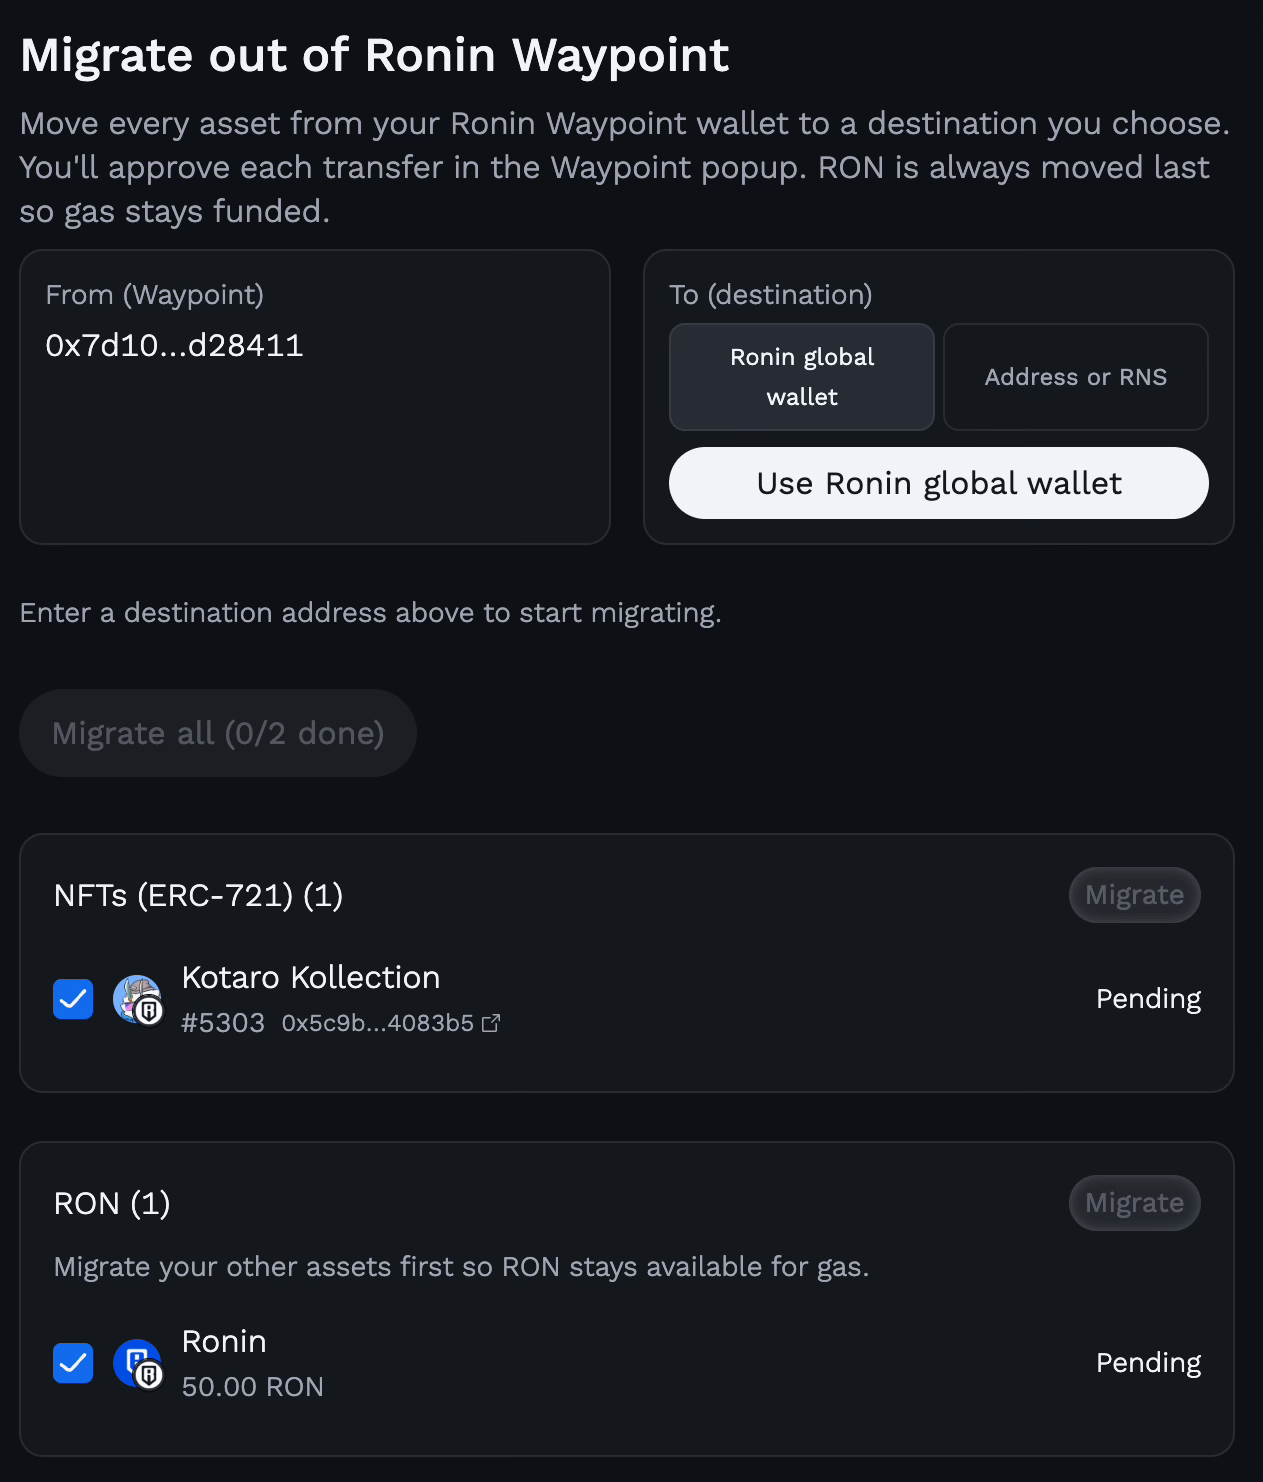
How to migrate your onchain assets to Ronin Stash
Step 1: Go to the Ronin Stash migration website
Step 2: Connect to your Ronin Waypoint account
Step 3: Select Ronin Stash or Address of RNS
Note: This is where you’ll transfer your assets to.
Step 4: Select the assets you’d like to transfer
Step 5: Click “Migrate”
FAQs to help with the migration
Q: How do I check if my account is a Waypoint wallet, or see which email/login is associated with it?
A: Log into https://waypoint.roninchain.com/dashboard/wallet and verify whether your wallet is listed under Social Login Wallet / Keyless.
Q: Do I need to take action if I only use a seed phrase wallet?
A: No action is needed. If you exclusively use a traditional seed phrase wallet, you are completely unaffected by this change.
Q: Why are we moving to ‘Stash’? What problem does this actually solve?
A: We built Waypoint quite a while ago when modern web3 onboarding infrastructure (like Privy) wasn’t yet fully mature or battle-tested. Now that these solutions are industry-standard, migrating to Stash allows us to drastically optimize the first-time user experience and clear the path for massive ecosystem growth.
Q: What happens to soulbound assets currently on Waypoint?
A: We’ve closely reviewed the data, and the vast majority of soulbound assets are tied directly to Axie Infinity. The Axie team already has a dedicated support plan locked in for bAXS and badge migration. Head over to the official Axie Discord for their specific migration guides.
Q: Why is there only a 90-day window before access is cut off permanently?
A: Maintaining legacy, infrastructure indefinitely creates increased dev cost and fragments the network. A 90-day window provides active users with ample time to transition their accounts.
Q: How are we ensuring users actually see this announcement? Why not email them directly?
A: We have already deployed our primary announcements across owned media channels. A coordinated wave of direct email reminders and push notifications will be sent directly to affected users throughout the 90 days to ensure everyone gets the message.
Q: How do I access my Ronin Stash assets after completing the migration?
You will need to logout from wallet.roninchain.com and then login again using the Ronin Stash option to manage your assets.
Note: you might not yet be able to use them in certain dApps/projects until they have fully integrated the Ronin Stash.